Installation in standalone mode
Standalone mode allows you to install on the same server PostgreSQL database and monitoring tool OpenNMS.
4. Choosing the keyboard layout
7. Administrator (root) password
9. First boot and post-installation configuration
10. First connection to OpenNMS
1. Burning the DVD
Download a release of OSE on donwload page.
Use your preferred burning utility to burn the DVD ISO just downloaded.
2. Starting the computer
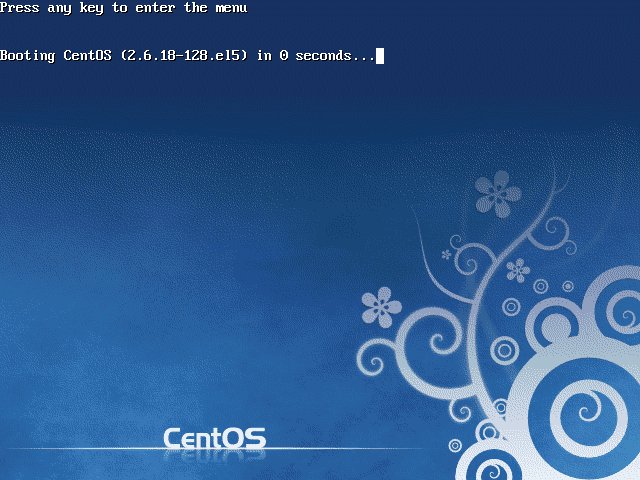
Insert the DVD in your drive and start the computer to initiate booting from the DVD-ROM drive.
The following screen appears:
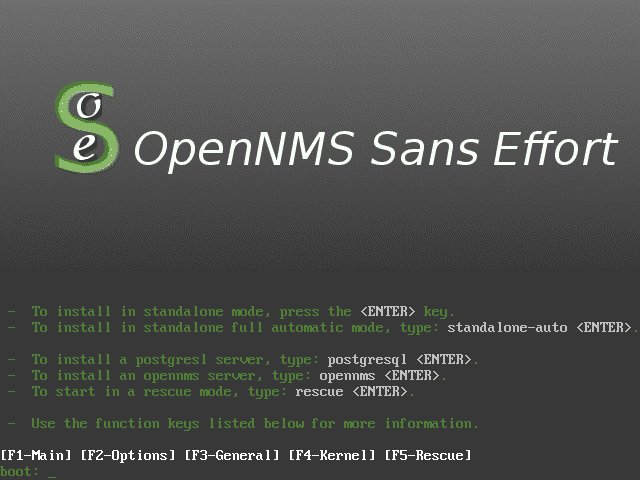
Hit the Enter key or type standalone.
3. Choosing the language
The installer boots, the following screen appears:

Select the language (with the Up or Down keys) then select the OK button with the Tab key, finally pressing the Enter key. I have selected English here.
4. Choosing the keyboard layout
The following screen appears:

Select the type of keyboard (with the Up or Down keys) then select the OK button with the Tab key, finally pressing the Enter key. I have selected us here.
5. Partitioning
The following screen appears:

Several choices available to you:
- Remove all partitions on selected drives and create default layout
- Remove linux partitions on selected drives and create default layout
- Use free space on selected drives and create default layout
- Create custom layout
Choose the partitioning scheme best suited to your needs and click on the Next button. I've chosen here Remove linux partitions on selected drives and create default layout. In this case, the following warning message appears:

Click on the Yes button.
6. Time zone selection
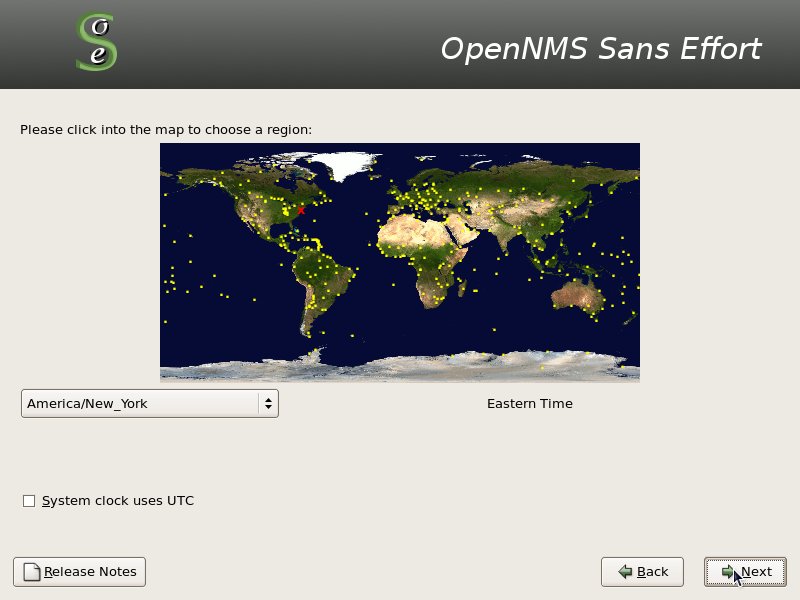
Select the time zone and click the Next button.
7. Administrator (root) password
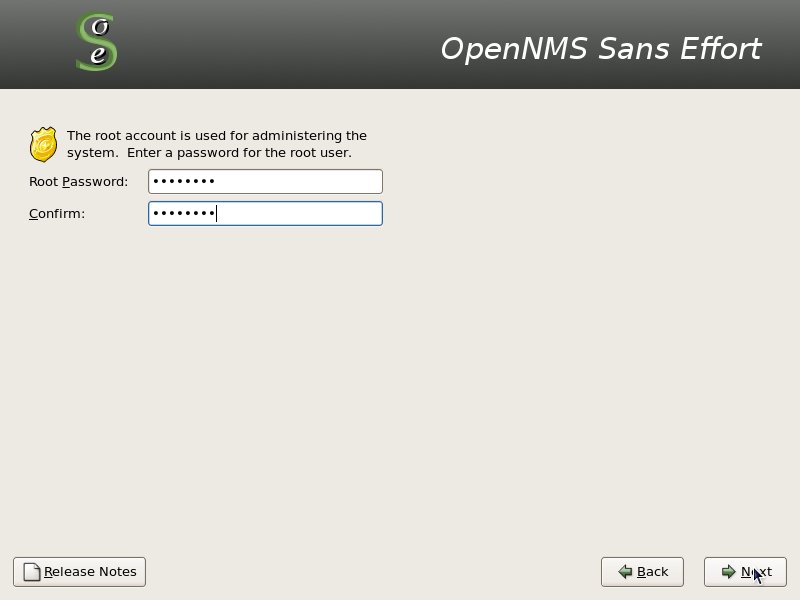
Provide the administrator password for the server (two times) then click the Next button.
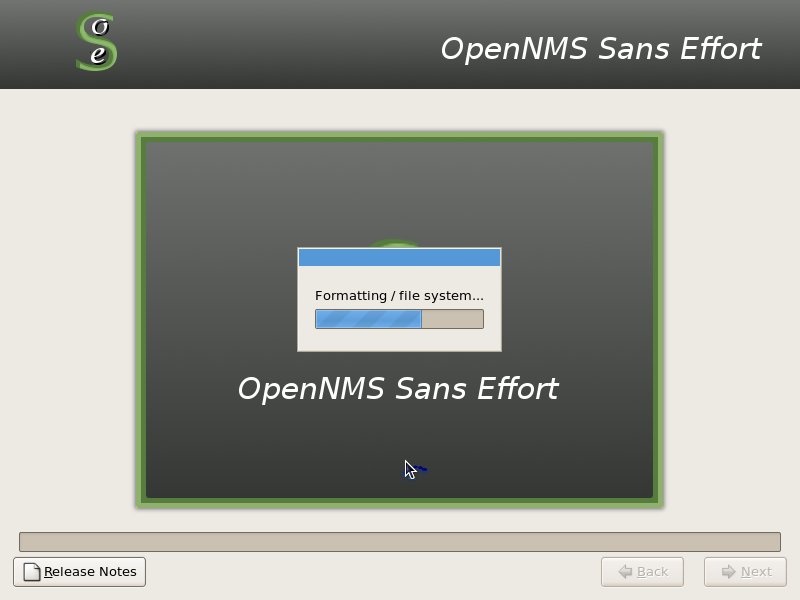
8. Installation
8.1 Formatting partitions
8.2 Installing the system

Once the installation is done, the following screen appears:
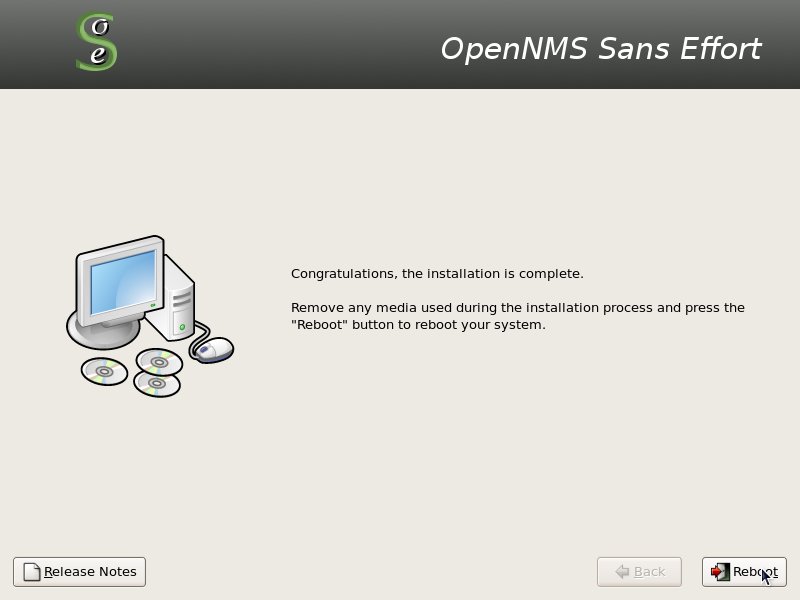
Click on the Reboot button to reboot the computer and launch the new system.
9. First boot and post-installation configuration
At the first boot, the following screen appears:
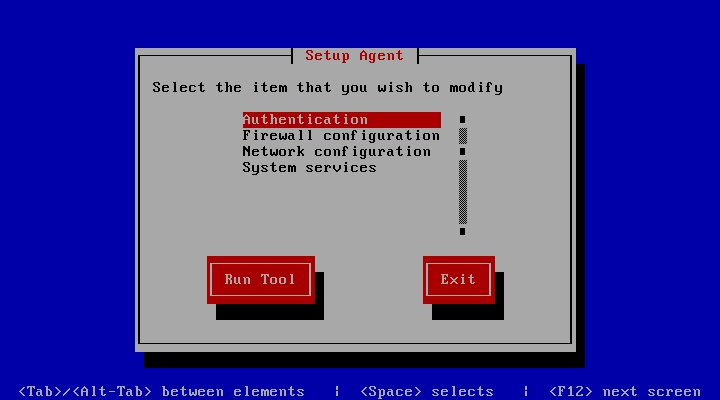
It allows you to configure the following elements:
- Authentication
- Firewall
- Network
- System services
We're going to focus here on the network configuration. By default the network interfaces are configured via DHCP. If you wish to configure an interface with a static IP address, proceed as follows:
Select Network Configuration (with the Tab key) then press Enter.
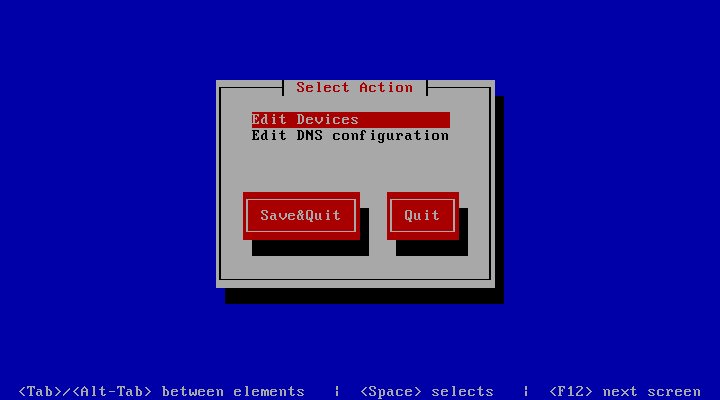
Press Enter.
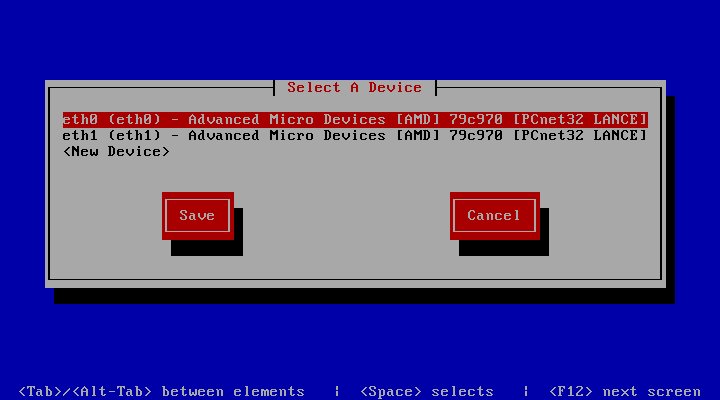
Select the network interface that you wish to configure then press Enter.

Select (with the Tab key) the line Use DHCP and press the Space bar to deselect the DHCP option. Then fill the other requested fields and press Enter.
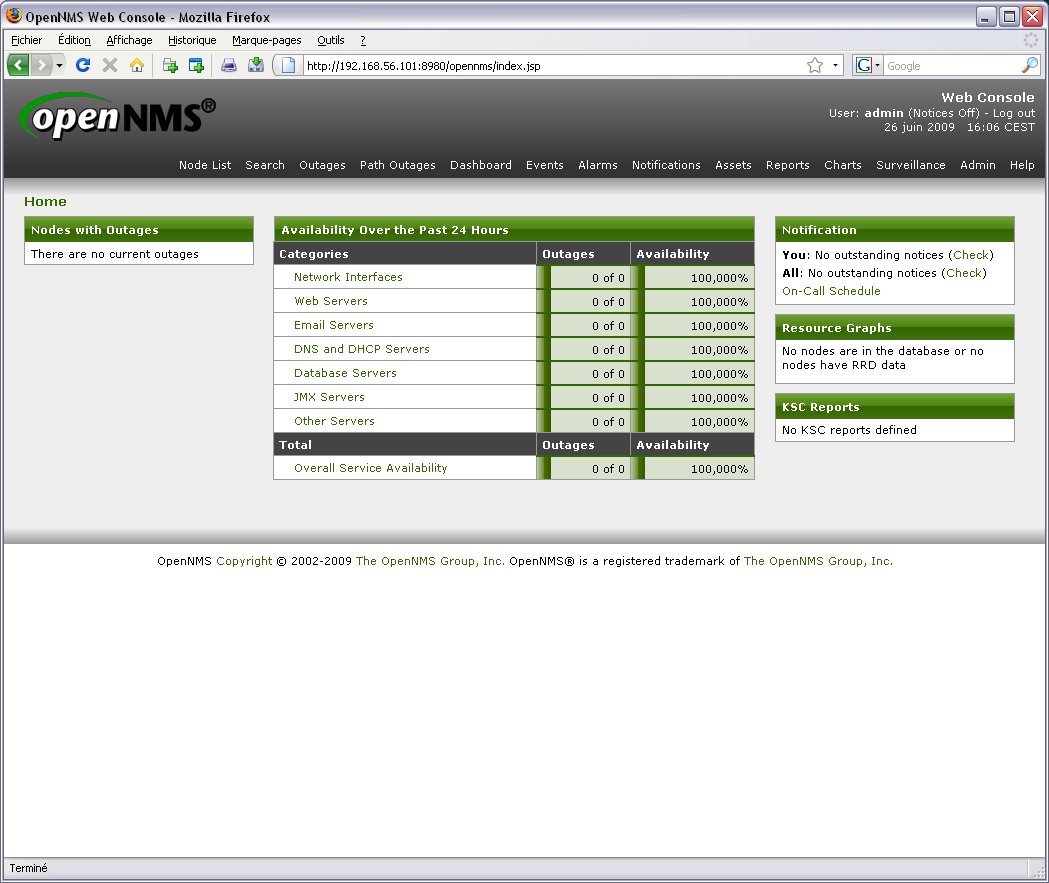
10. First connection to OpenNMS
Launch your preferred web browser and type the following URL: http://<IP address of your machine>:8980/opennms. The OpenNMS login screen appears:
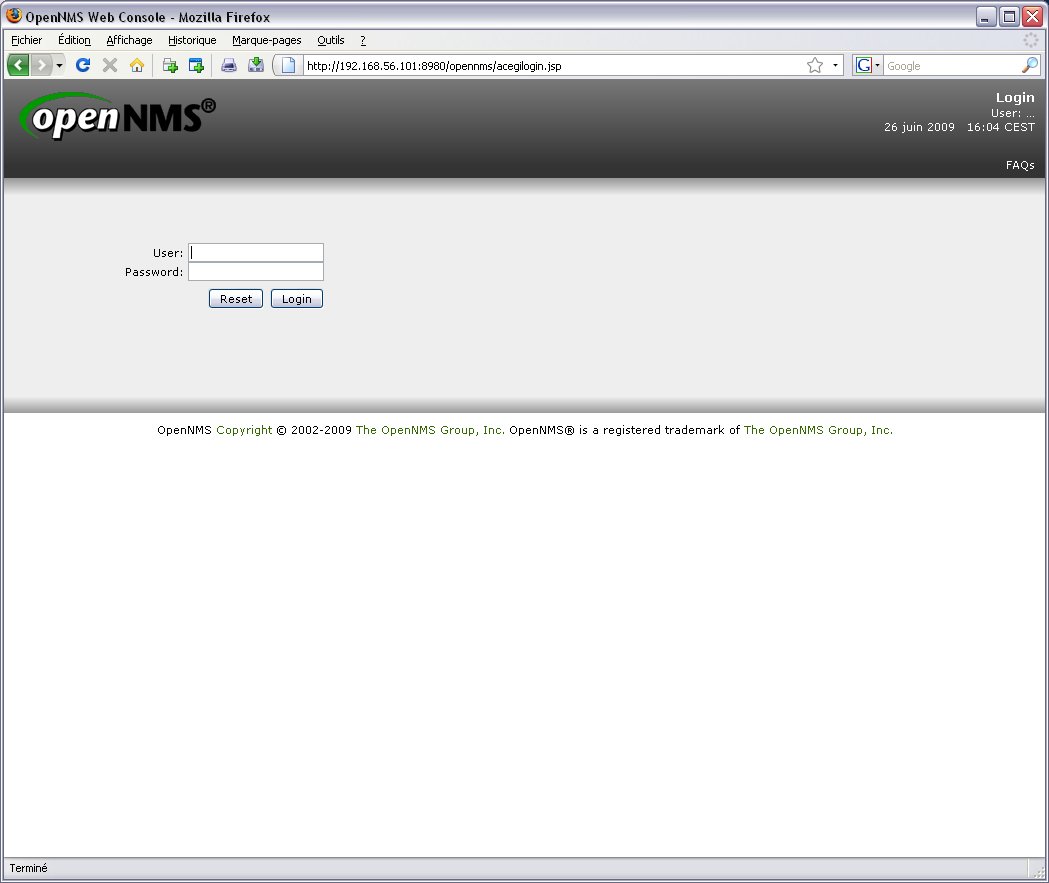
By default the login is "admin" and the password is admin. You're now connected to the OpenNMS interface:
Related Projects


Contact
OSE (OpenNMS Sans Effort) is an Open Source distribution built and maintained by Samuel Mutel, monitoring engineer since 2005.
E-mail:
smutel@monitoring-fr.org